Here is an example of the collars I made.
Here is an example of the collars I made. |
|
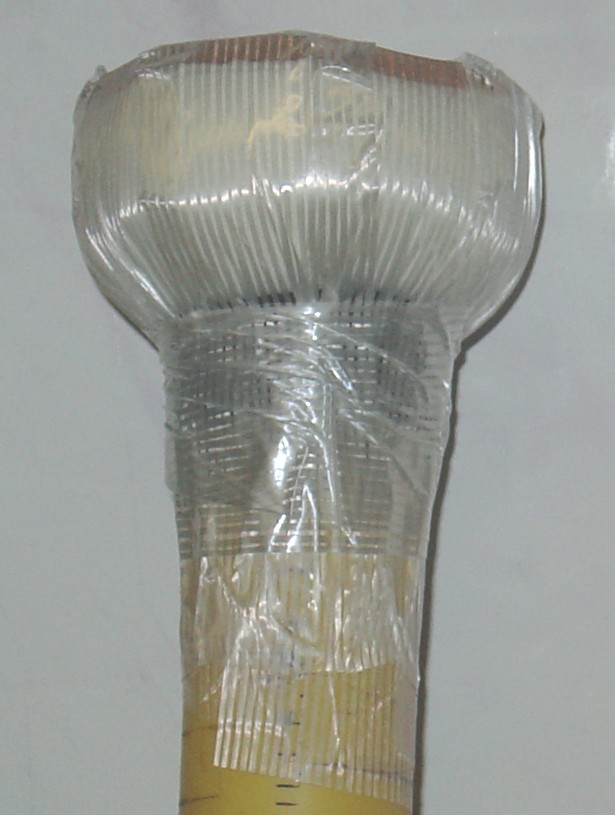
| First I wrapped strapping tape completely over the end of
the tube. This helps block water from getting into the tip. A leather disk is required. It can be a small disk over the end of the tube or a large disk covering the collar and the tube. If you go for the small disk (about 1 1/4"+ in diameter), then apply it now. Then wrap some 3/4" strapping tape around the tube 1" down from the end of the tube. This forms a stop to keep the collar from sliding down with use. I've been increasing the diameter to about 1 1/2" which seems to be enough. |
 |
|
Wrap friction tape completely around the end Note: I've found that electrical friction tape may be too sticky and can be hard to get the collar aligned right. I'm trying hockey stick tape now and it seems to be a decent compromise. |
 |
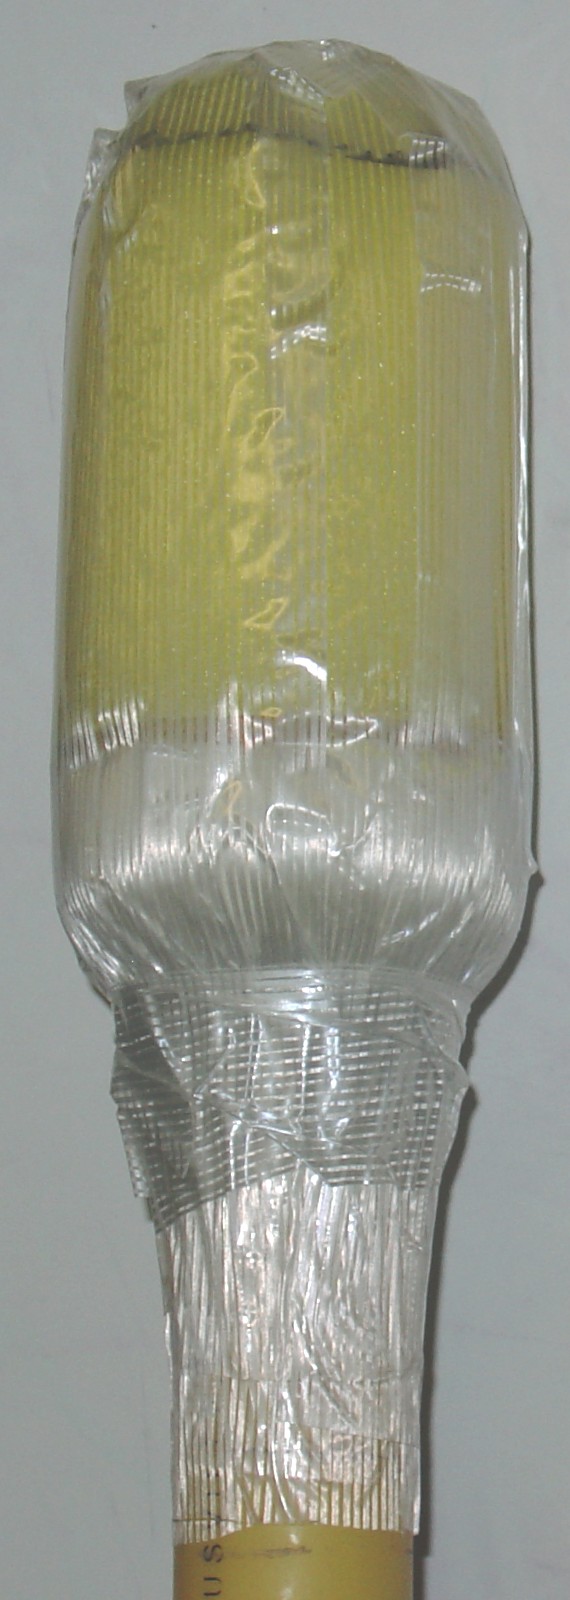
| Now slide on the stiff foam collar. This is a
very snug fit and takes a little coaxing to get it on. Note that the collar will extend a little past the end of the tube by about 3/8". I figure this provides a little extra cushioning to help keep the tube from projecting into the foam tip and degrading it. At least that's the theory anyways. |
 |
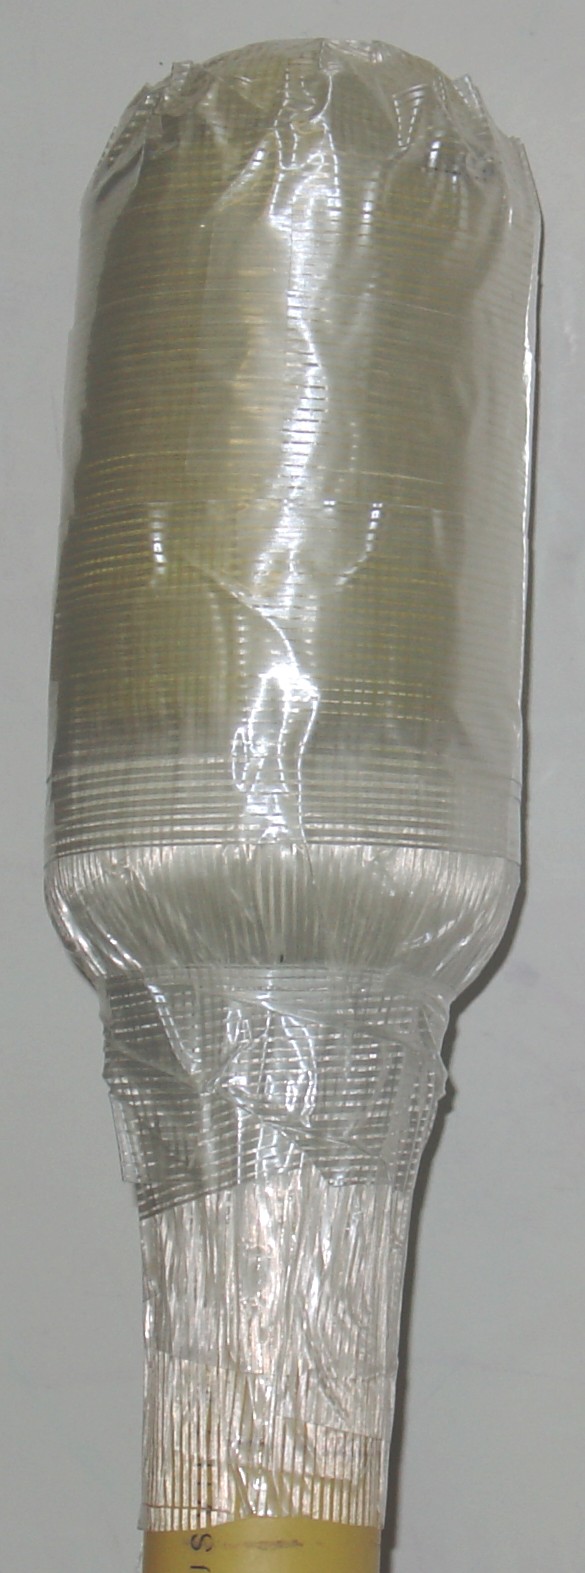
| Now is the time to apply the large leather disk
(about 2 1/2" in diameter)
if you go with that option. Note that with my testing, using a large
leather disk rather than the small leather disk improves the durability
of the pool noodle foam. Then completely tape over the collar and
then down over the tube with strapping tape. Then VERY tightly wrap
around the tube just under the collar. The collar is now locked into
place. |
 |
| Add the foam tip and tape over it lengthwise
with strapping tape, extending it down over the tube. Completely cover
the tip. Wrap it tighly around the tube just under the collar. |
 |
| Now wrap strapping tape around the circumference
of the foam. I've been doing this with 2 layers to fully support the
foam tip. |
 |