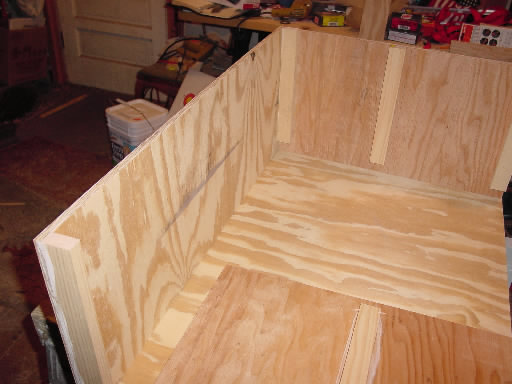
| I first cut out each of the pieces of plywood. I then drilled countersunk holes into the sides, bottom and top for the screws to attach onto the cleats. | 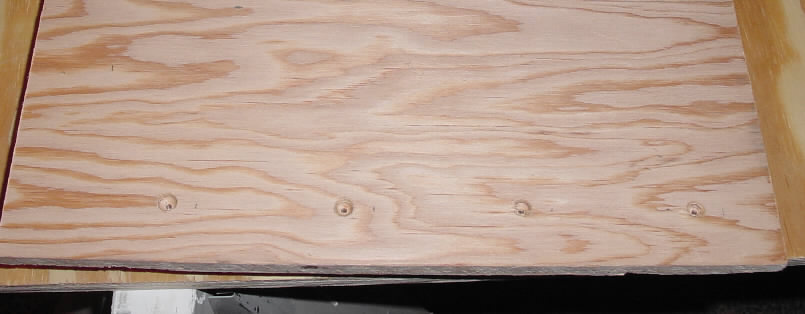 |
When I was in Boy Scouts many years ago, we used a couple of wooden
boxes to hold kitchen supplies. The doors opened out and provided a workspace.
The boxes could be closed up when not in use to protect the contents. I
recently found plans for a box that is very similar to the ones we used.
You can find it at "Patrol
Kitchen Box Plans".
These plans gave me a good guideline for my box, but I had some concerns. The major problem was weight. I once weighed a 3/4" sheet of plywood and it weighed 70 pounds. Since most of the sheet is used for this box, That means that the box will weigh 65-70 pounds empty! This is probably fine when you have a troop of strong boys to carry it around, but I'm going to mostly be carrying it around myself. Also, I thought that 3/4" was overkill. So I decided to use 1/2" plywood for most of it, with a 1/4" plywood back. I used 1x2 cleats on the corners and screwed everything together with countersunk drywall screws. This should be a good compromise between weight and strength. Also, I happened to have some pieces of plywood laying around. Because of the sizes of the pieces, I made the box only 36" wide instead of 40".
Here are the dimensions I used:
| top | 14"x36" * |
| back | 24"x36" * |
| front | 24"x36" |
| sides | 13-1/4"x24" |
| bottom and shelf | 13-1/4"x35" |
*Note: I made a mistake here. I should have made the back 24-1/2"x36" and the top 13-3/4"x36". I made up for this by adding a cleat to the inside corner to join the back to the top.
The box we used when I was in boy scouts had legs made of iron pipe.
The pipe fit into metal pipe holders on the sides of the box. This seemed
like a good idea as well as this reduced the bulk a little bit. I used
1/2" galvanized iron pipe. Each leg is 4' long. The threads aren't necessary.
| I first cut out each of the pieces of plywood. I then drilled countersunk holes into the sides, bottom and top for the screws to attach onto the cleats. | |
|
I then attached the cleats to the sides and bottom with glue and screws. I used 1" screws to attach the cleats onto the sides, and 1-5/8" screws to attach the cleats onto the bottom. |
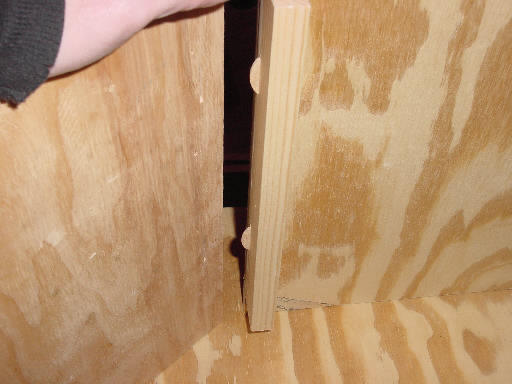
| A while ago I bought a Ryobi minibiscuit cutter. I have found this to be great for simplifying lining up projects like this during assembly. It cuts 3 sizes of biscuits, R1, R2, and R3 - R3 is the biggest. Because of the thin plywood, I cut R2 slots in the plywood and R3 slots in the cleats. I have found that there is still enough space to fit the R3 biscuits. |
 |
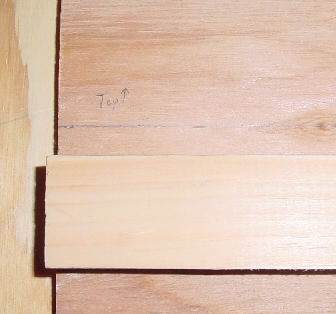 |
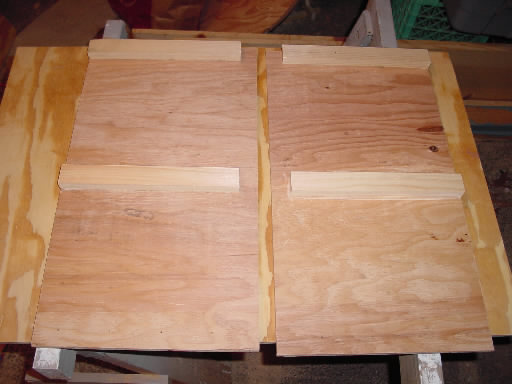
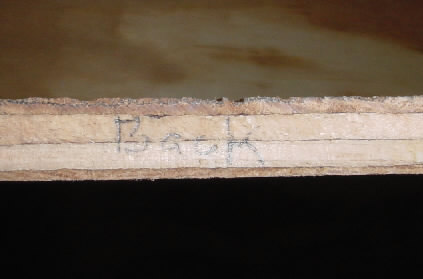
Oh, by the way, don't forget to label the parts as you cut them! This will make it harder to make a mistake later when gluing everything together. |
 |
Click here to see the completion of the box.